Configuring WordPress after installing on Google Cloud Platform using Click to Deploy
Following on from Fixing Installation Failed message on Bitnami WordPress and Google Cloud Compute Engine I recently tried installing WordPress within Google Cloud Platform using Google Click to Deploy.
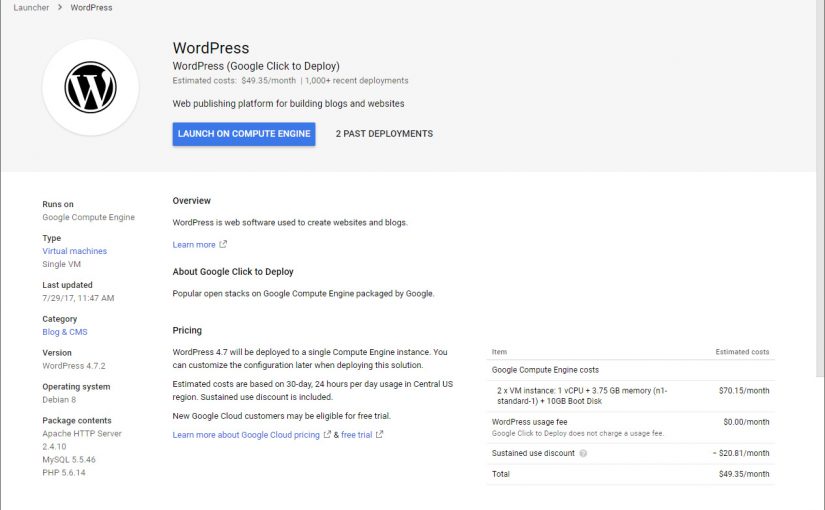
As always the installation and initial setup is a breeze, open up Google Cloud Platform and within the search bar type in “WordPress”, one of the available options is called “WordPress – Click to Deploy”, select that then enter the following details:
- Deployment name (this cannot be changed so think about it…)
- Zone (where you want your instance to exist; us-west1-b is my favourite)
- Machine Type (small 1 shared vCPU is plenty to start with and can be changed at any time without affecting site downtime)
- Administrator E-mail (your e-mail address)
- whether you want phpMyAdmin installed (if you’re using WordPress then this is very handy to have access to)
- Disk type and size (Standard Persistent Disk and 10 GB is plenty to start with)
- Automatic firewall rules for HTTP/HTTPS traffic (turn this on or you’ll need to do it later)
Then hit Click Deploy and away it goes, a minute or so later a set of logins are provided including a default admin WordPress User and login details, if phpMyAdmin was selected a default root User login is provided.
By default a dynamic IP is allocated to your WordPress instance so you’ll need to open Menu > Networking > External IP address and change the type to Static for persistent WordPress sites.
If you intend to manage your WordPress site via SFTP (FTP over SSH) then you’ll need to adjust your SSH user so that it can create and edit files within the base WordPress directory, to do this open the Google Cloud Shell within your WordPress instance by opening Menu > Compute Engine > VM Instances > under the Connect column beside your WordPress instance click SSH.
id
sudo useradd -G visser www-data
(replace visser with your SSH user name displayed when you enter id)
If the visser user already exists then you will need to do the following command instead:
id
sudo usermod -a -G www-data visser
Adjust the file permissions and ownership of wp-config.php within your base WordPress directory then create a new .htaccess file.
cd /opt/bitnami/apps/wordpress/htdocs/
sudo chown www-data wp-config.php
sudo chgrp www-data wp-config.php
sudo chmod 664 wp-config.php
sudo touch .htaccess
sudo chmod 664 .htaccess
sudo chown www-data .htaccess
sudo chgrp www-data .htaccess
Lastly let’s change the WordPress URL from the IP address allocated (e.g. http://35.197.92.168 to http://visser.io) and turn on Permalinks.
To change your WordPress URL open the WordPress Administration using the logins provided when your WordPress instance was created then open the Settings > General screen. Change only the WordPress Address (URL) field to your preferred URL – do not change the Site Address (URL) field – then hit Save Changes.
To enable Permalinks open up the General > Permalinks screen, within the Common Settings section change the radio button selector to Custom Structure and within the text input field paste the following (or your preferred Permalink structure):
/%year%/%monthnum%/%day%/%postname%/
Hit Save Changes to apply changes.
That’s it 🙂
WordCamp Brisbane 2017: Extending WordPress and WooCommerce core
Safety warning regarding Philips Hue bulbs used internationally and sourced from the US
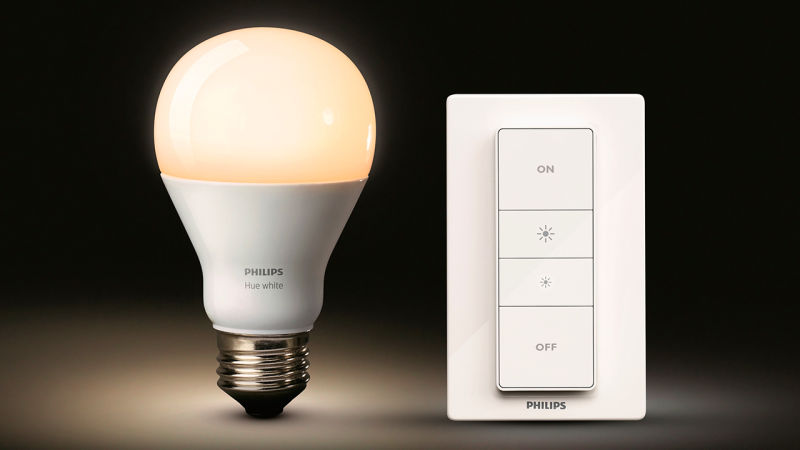
After a recently purchased Philips Hue White bulb died on me this past week I went about contacting the Philips Hue support team to identify the fault and/or replacement. After a fortnight of different support channels (website, Facebook, phone, e-mail…) my local Philips Lighting supplier – Philips Lighting Australia Ltd. – declined a replacement and pointed me to the Philips Lighting US team.
Here’s what I learned and why I now have two Philips Hue White bulbs gathering dust due to the potential of a safety risk… not cool Philips Lighting.
Safety warning
First off, if you have been “silly” enough to purchase Philips Hue bulbs from Amazon.com or another US-based online marketplace and had products sent internationally where 110 VAC electricity is not used (e.g. everywhere) stop using those products and contact the Philips Lighting US team for a replacement.
Here’s the interaction with my local Philips Lighting team:
From the markings it looks to be a US bulb. These would run on 110v and not 240v and therefore and not usable outside of the US. It would be best for you to check all bulbs for the voltage range printed on the bulbs and if it does not say 220-240v you should stop using them as it could have the potential of a safety risk.
Unfortunately this would also mean that we could not replace them under warranty since we accept claims/complaints only for products sold by us in Australia.
– Customer Order Manager, Philips Lighting Australia Ltd
In summary:
- Philips Lighting teams will only accept claims/warranties for products sold by their company in that given country (e.g. a purchase from Philips Lighting DE (via Amazon.de) will not replaced by Philips Lighting AU).
- Philips Lighting teams have no trade or direct contact with other teams. You as a consumer must reach out to the Philips Lighting team where your product was purchased (e.g. in my case buying from Amazon.com means the US team and track them down).
- The Philips Lighting US team (e.g. the official Philips Lighting US team selling on Amazon.com) are aware that customers are using their 110v-only products internationally and not informing customers or restricting international sales knowing of the potential safety risk when using their products in non-110v markets.
The first two points I understand. The last riles me up and is reason for this Post. Lift your game Philips Lighting and offer a single dual-voltage unit!
Knowing the above I now source Philips Hue products from local suppliers, currently Apple.com/au/… are the cheapest online retailer with free shipping and they have confirmed via pre-sales support to only sell international Philips Hue products rated for 220-240V at 50/60Hz and safe for use in non-US markets. I have since purchased multiple bulbs from Apple.com/au/… and all have been internationally rated.
I would like to return my Philips Hue White US-bulbs (without replacement or refund) as I have no further use for them.
How to download map updates for your 2017 Mazda 3 Maxx
- Visit the Mazda Connect update website
- Click the Download Mazda Toolbox menu link
- Click the Download for Windows button *1
- While the download is running click the Register link from the top menu to create a new Mazda Toolkit user account
- Open the confirmation e-mail and hit the link to verify your user account
- Open the installer once it has completed downloading (~20MB) and run it
- Retrieve the SD-card installed in your Mazda 3 from the center console, above the USB ports; it is protected by a rubber holder
- Insert the SD-card into your computer and ensure it is detected as a hard drive
- Open Mazda Toolbox from your computer
- Click Login from the opening screen using the user details entered above
- Click Available Updates to check for new map updates
- Click Install if a new map update is available
- Click Backup to save a backup of the existing map files on the SD-card
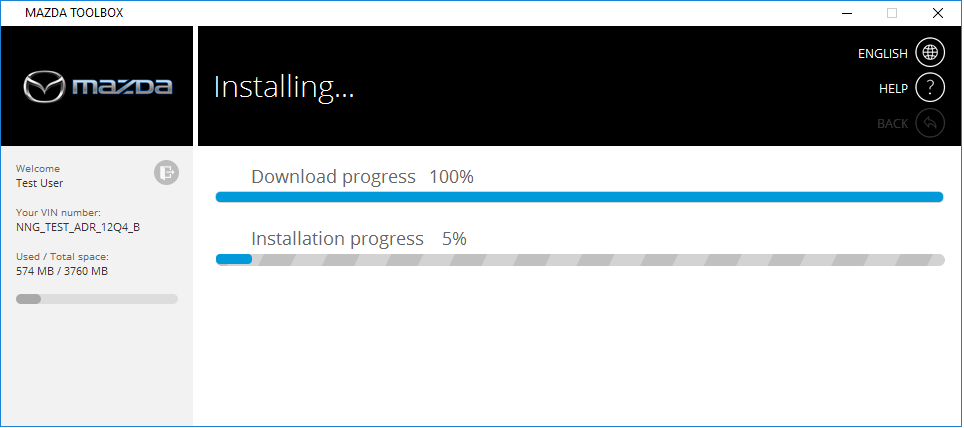
- Click Updates to load the latest map files onto the SD-card, be patient, this can take awhile…
- When the download and transfer is complete hit Exit to close Mazda Toolkit
- Remove the SD-card from your computer and re-insert it in the SD-card port of your Mazda 3
- Press the Start engine button once to initialize the infotainment system
That’s it! 🙂
*1 If you’re using a Mac then hit the Download for OS X button
Screenshots
-

- Select your native language for Mazda Toolkit then click OK
-
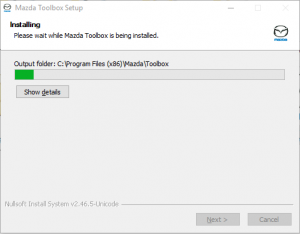
- Run the Mazda Toolkit installer
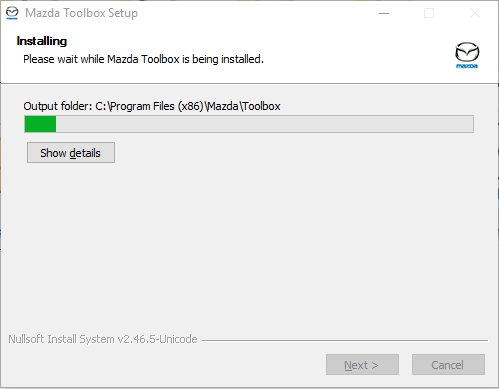
-

- Click Finish to open Mazda Toolkit

-
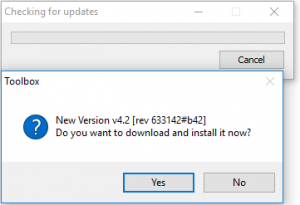
- If an update to Mazda Toolkit is detected you will be prompted to update

-
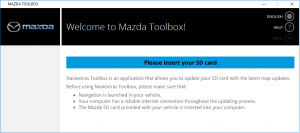
- Insert the SD-card from your Mazda 3 when prompted

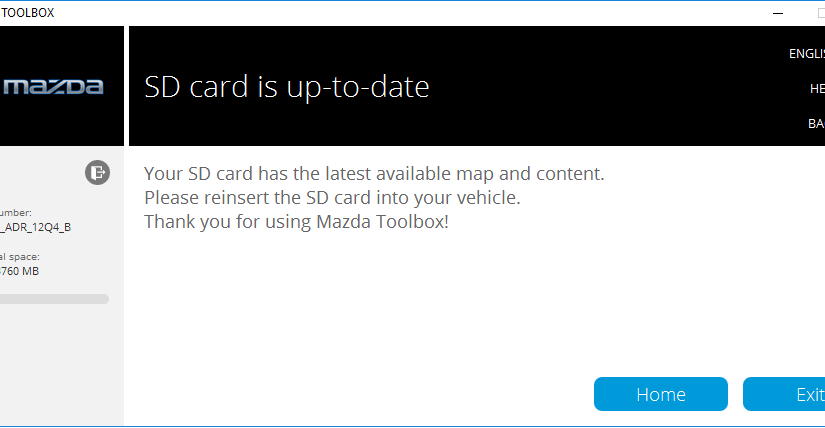
-
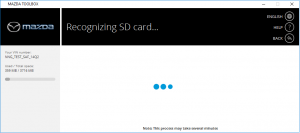
- Mazda Toolkit will confirm the presence of the SD-card from your Mazda 3

-
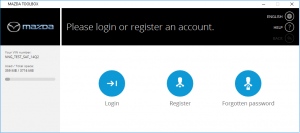
- If you already have a Mazda Toolkit account by signing up from the website hit Login otherwise click Register to create a new Mazda Toolkit account

-
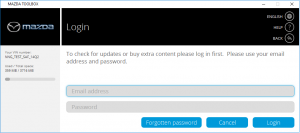
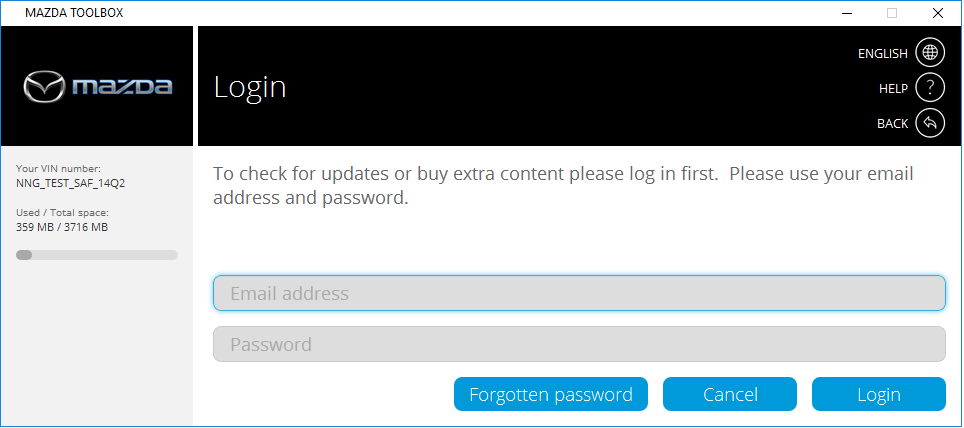
- Login using your confirmed Mazda Toolkit login details
-
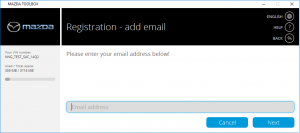
- If you’re registering a new Mazda Toolkit account enter your e-mail address

-
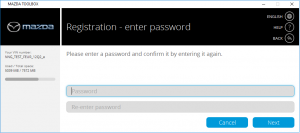
- Confirm your Mazda Tookit login password
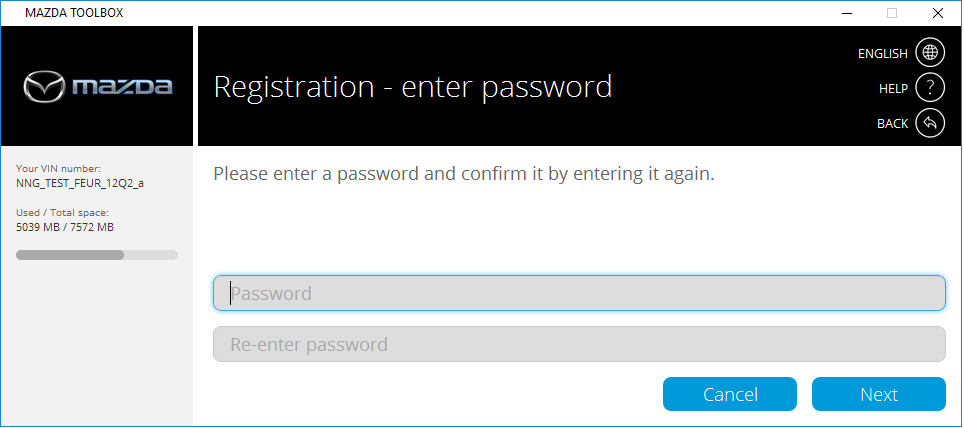
-
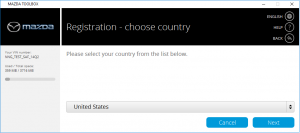
- Link your Mazda Toolkit user account to your preferred region

-
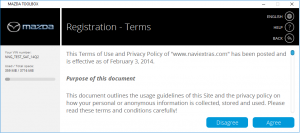
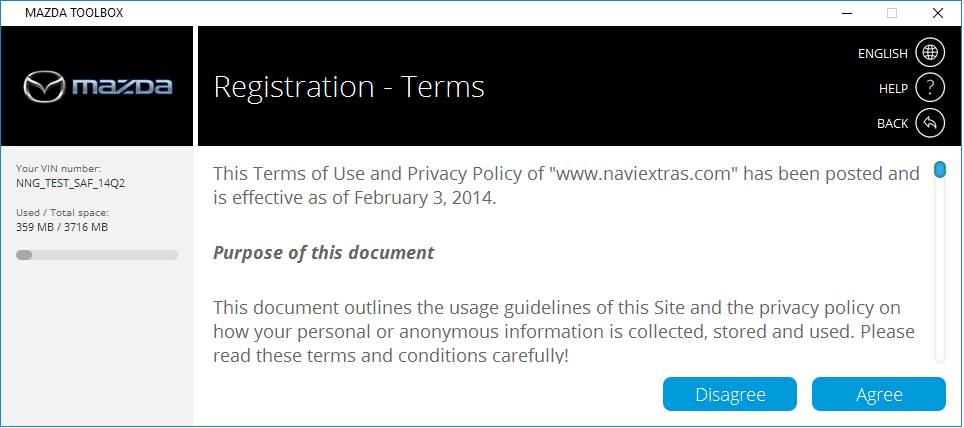
- Click Agree to proceed past the Mazda Toolkit T&C
-
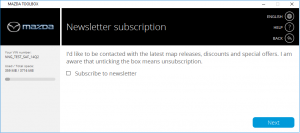
- If you want to receive newsletters from Mazda Toolkit here’s your chance

-

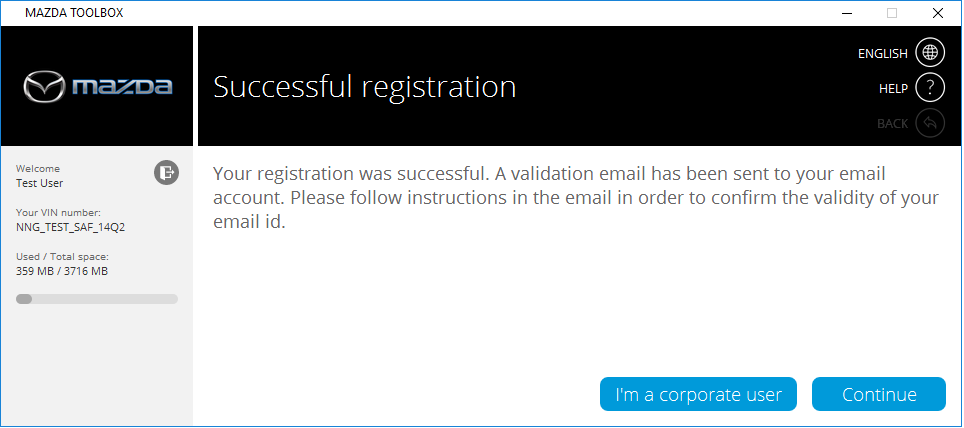
- Hit Continue to return to the opening Mazda Toolkit screen, check your e-mail for that confirmation
-

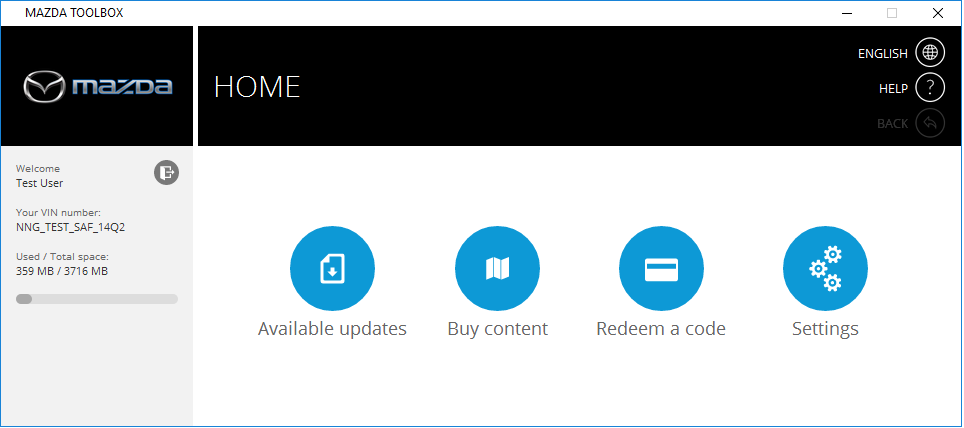
- Click Available Updates to check for new map updates
-
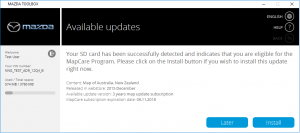
- Fingers crossed you get free map updates otherwise head over to the Mazda Toolkit shop to purchase a new map update license

-
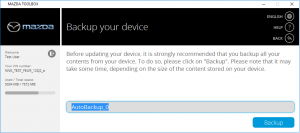
- You will be prompted to backup the contents of your Mazda 3’s SD-card before the latest map update is written to the SD-card

-
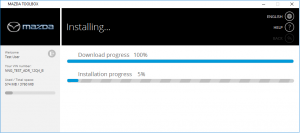
- The download and installation process takes awhile, be patient
-
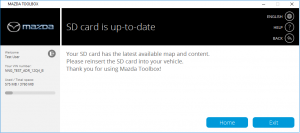
- That’s it, your Mazda 3’s SD-card can be re-inserted in your car
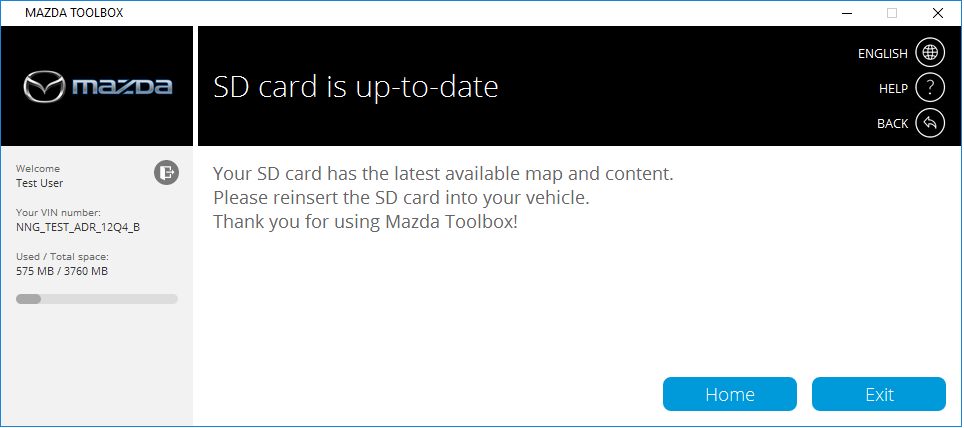
How to turn off Spotify song notification in Windows 10
- Open the Spotify Desktop App
- From the Edit main menu select Preferences (or CTRL+P)
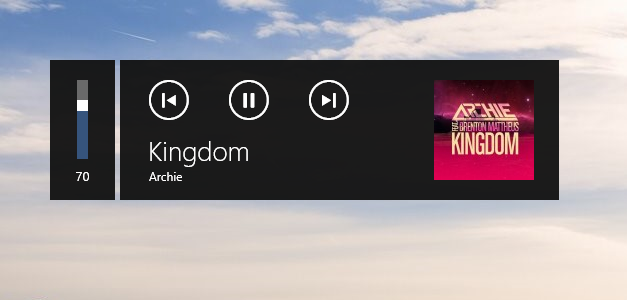
- Scroll down to the Display Options section
- Set Show desktop overlay when using media keys to Off
- Return to the Spotify opening screen
That’s it! 🙂
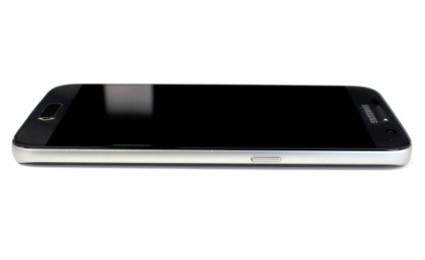
Resolve Bluetooth audio connectivity issue with Samsung Galaxy S7/S7 Flat
My Samsung Galaxy S7 Flat (G930F) does not get along with my Jaybird Bluebuds X Bluetooth headphones since updating to Android 7.0 (Nougat). I’ve tried the common fix lists, re-paired Bluetooth devices, cleared the “Bluetooth share” App data, reset network settings, even nuked the cache partition from recovery. Same issue, less than 30 seconds of Spotify playing to my Bluetooth wireless headphones then nothing, silence, not even a “command received” tone when using the media controls on my headphones, nothing then after a while it decides to play before again giving me the silent treatment.
Here’s how to fix the Bluetooth audio connectivity issue affecting the Samsung Galaxy S7/S7 Flat, there are three components as well as a list of common troubleshooting steps at the bottom. I found Bluetooth scanning was the culprit for me but suspect both Samsung Connect and Trusted devices were involved.
Update: After a brief period of stability the dropouts returned, I suspect the Android 7.1 release will fix this as it is a widely known issue with Android 7.0.
Uninstall Android Wear
The Android Wear App is known to conflict with some Bluetooth headphones (Jaybird Bluebuds X), I don’t understand whether it’s the App or the Bluetooth device at this point.
- Open the Apps menu
- Drag Android Wear into the bin
- Restart the phone
Turn off Bluetooth scanning in Location screen
- Open the Apps menu
- Open Settings > Connections > Location > Improve accuracy
- Turn off Bluetooth scanning
- Jump back to the Home screen
Turn off the Samsung Connect panel
- Open the Apps menu
- Open Samsung Connect (a new App that has been installed by Samsung alongside the Android Nougat release)
- Open Settings from the top-right menu (three dots)
- Ensure Samsung Connect Panel is set to On
- Turn your Bluetooth headphones on and wait for your Samsung Galaxy S7 to establish the connection
- Pull down the status menu by sliding from the top of the screen
- You should see a “Samsung Connect” listing below the device feature icons, click the Settings icon within that panel listing (looks like two circles with horizontal lines attached)
- From the Samsung Connect Panel screen first untick your Bluetooth devices and “Audio output”, finally change the first option from On to Off
- Jump back to the Home screen
Turn off Trusted Devices
If you have configured your Bluetooth device as a Trusted device to bypass the lock screen try removing it.
- Open the Apps menu
- Open Settings > Lock screen and security > Secure lock settings > Smart lock
- Enter your device PIN and press Next
- Open Trusted devices
- Remove your Bluetooth audio device
- Jump back to the Home screen
Common Bluetooth troubleshooting tips
- Delete the Bluetooth connection and re-pair with the Bluetooth device
- Clear the Bluetooth App cache via Settings > Apps > Show system apps (via three dots menu) > Bluetooth share > Clear cache
- Open Settings > General management > Reset > Reset settings
- Open Settings > General management > Reset > Reset network settings
- Clear the system cache from Recovery mode
Try establishing a connection from your Samsung Galaxy S7 if it has been disconnected and playing audio. That’s it! 🙂
How to soft reset the Mazda Connect infotainment system
If the Mazda CMU freezes or locks up while driving – or if for any reason you need to reset the CMU – you can reset it without turning off the ignition by pressing the following button combination and holding it for 10 seconds:
BACK + MUTE + NAV
The infotainment screen will go black then display the Mazda logo as the unit finishes rebooting.
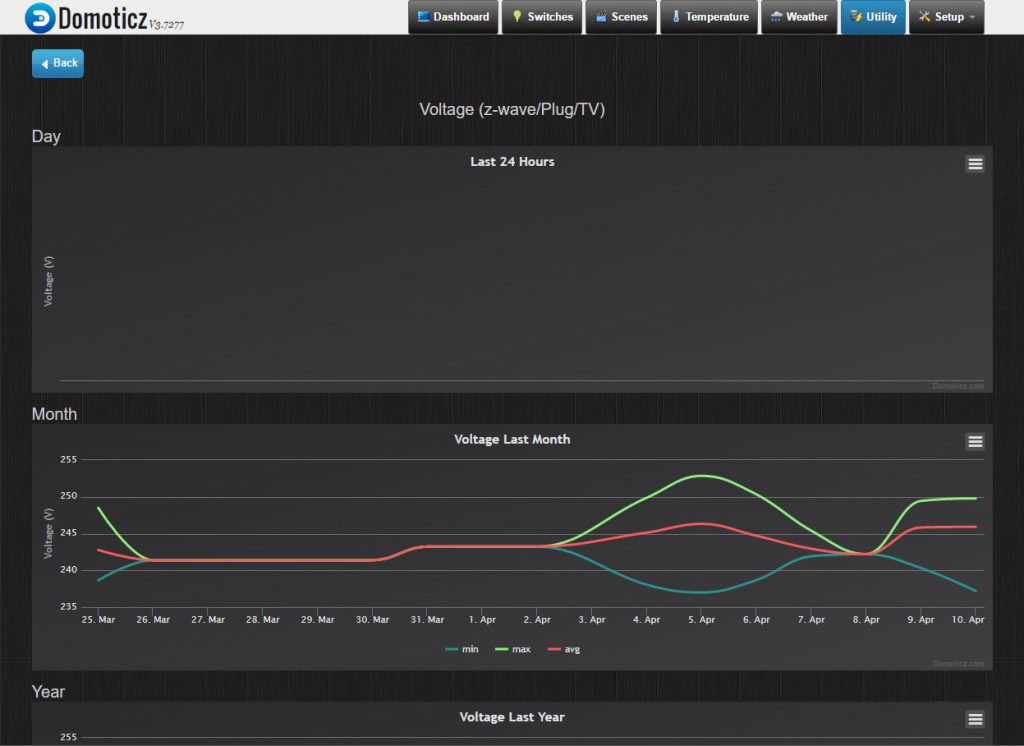
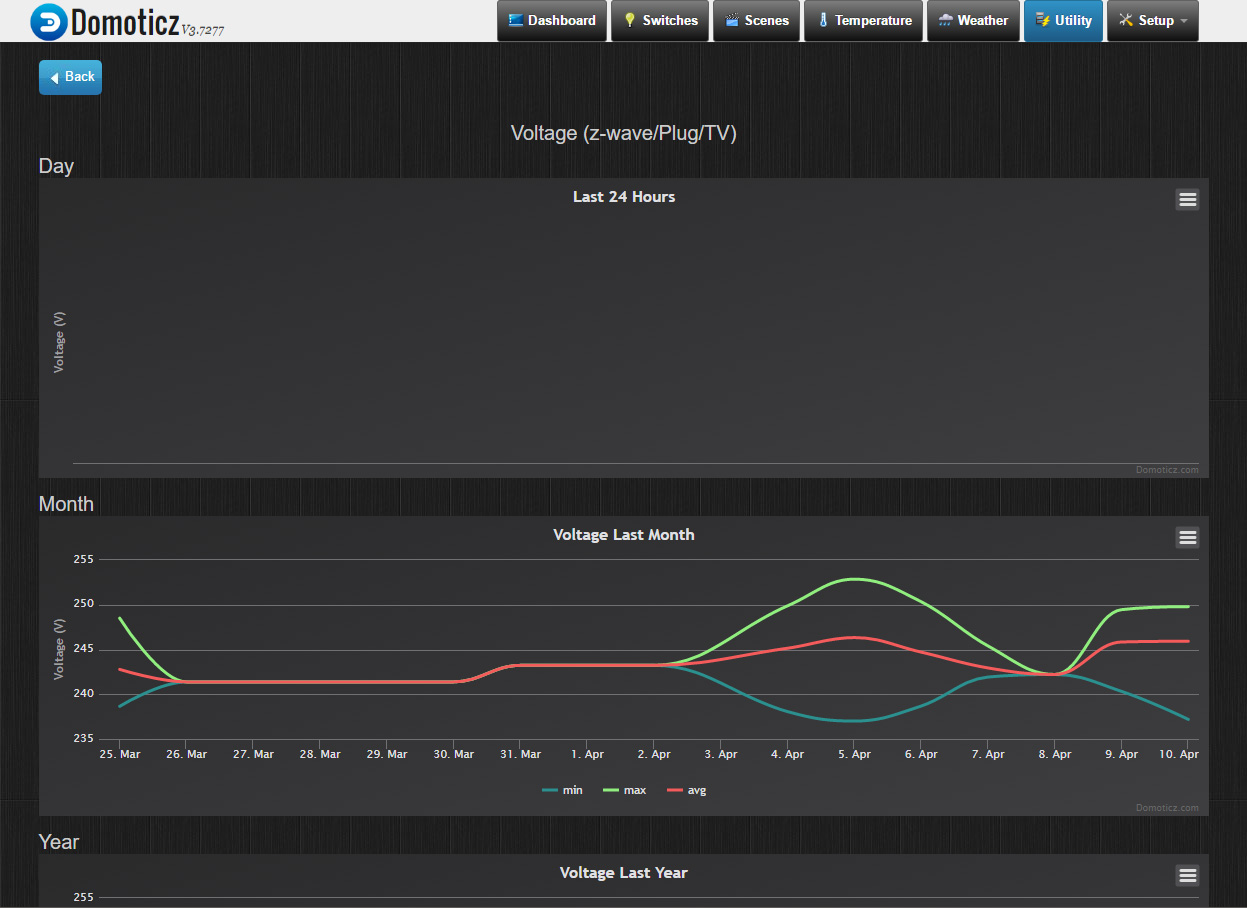
How to delete an erroneous device record in Domoticz
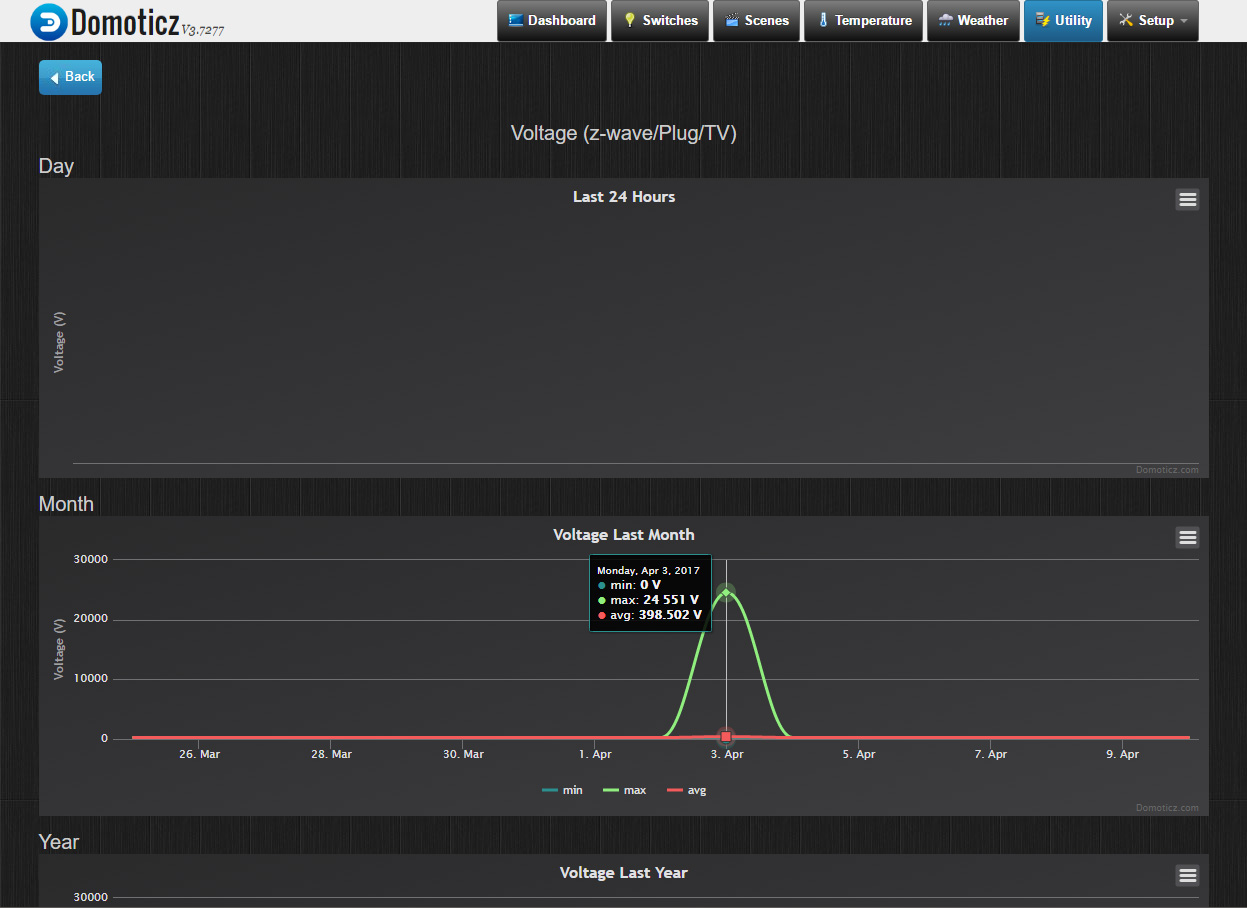
My z-wave smart plug from Neo-cam decided to throw a single bad reading into the mix when reporting the line voltage of the TV I’m monitoring and Domoticz happily accepted it. Having a single bad device value threw out all of my long-term monitoring statistics and I could not easily remove that bad value without using DB Browser and/or another database editor on my Raspberry Pi.
Here’s the easy fix for devices that support graphing, the best part being that’s built into Domoticz!
- Open up Domoticz in your preferred web browser
- Open up the device log screen for the device in question (in my case a Utility device)
- With your mouse hover over the bad reading
- Hold down SHIFT on your keyboard and left click the bad reading
- A confirmation screen will appear, check the date/time and value is the bad value and hit OK
That’s it! Long-term statistics are working again. 🙂
Gallery
-
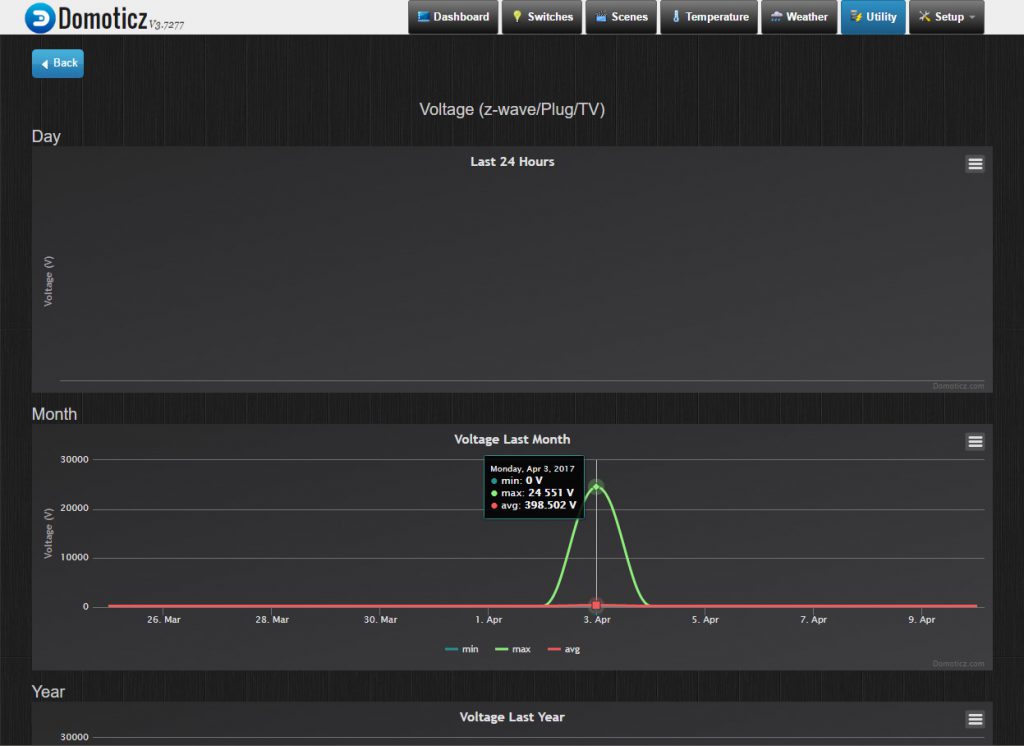
- Monthly statistics are useless due a single bad reading
-
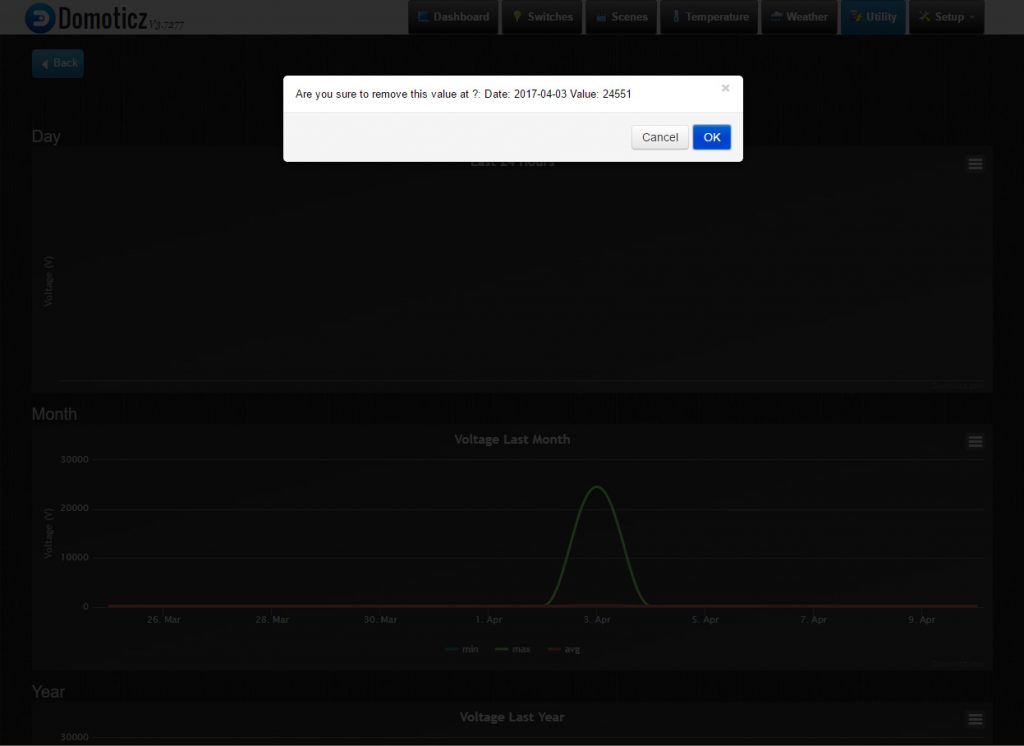
- Highlight the bad reading with your mouse and press SHIFT+Left Click to delete it

-
- Monthly statistics are accurate after removing the bad reading
Fixing Installation Failed message on Bitnami WordPress and Google Cloud Compute Engine
Getting WordPress installed on Google’s Cloud Compute Engine service is super easy using the Bitnami Launchpad for Google Cloud Platform, the gotcha is the default permissions set during installation mean you cannot use the WordPress Administration to update Theme’s, Plugins or WordPress core itself.
To set the file and directory permissions correctly you will need to connect via SSH to the container that your WordPress instance is installed on.
Here’s how to set the directory and file permissions correctly, split up into the different WordPress core directories:
WordPress base directory
sudo find /opt/bitnami/apps/wordpress/htdocs -type f -exec chmod 664 {} \;

sudo find /opt/bitnami/apps/wordpress/htdocs -type d -exec chmod 775 {} \;

sudo chown bitnami:daemon -R /opt/bitnami/apps/wordpress/htdocs
wp-admin
sudo find /opt/bitnami/apps/wordpress/htdocs/wp-admin -type f -exec chmod 664 {} \;

sudo find /opt/bitnami/apps/wordpress/htdocs/wp-admin -type d -exec chmod 775 {} \;

sudo chown bitnami:daemon -R /opt/bitnami/apps/wordpress/htdocs/wp-admin
wp-includes
sudo find /opt/bitnami/apps/wordpress/htdocs/wp-includes -type f -exec chmod 664 {} \;

sudo find /opt/bitnami/apps/wordpress/htdocs/wp-includes -type d -exec chmod 775 {} \;

sudo chown bitnami:daemon -R /opt/bitnami/apps/wordpress/htdocs/wp-includes
wp-content
sudo find /opt/bitnami/apps/wordpress/htdocs/wp-content -type f -exec chmod 664 {} \;

sudo find /opt/bitnami/apps/wordpress/htdocs/wp-content -type d -exec chmod 775 {} \;

sudo chown bitnami:daemon -R /opt/bitnami/apps/wordpress/htdocs/wp-content
That’s it!

Fix for firmware upgrade on Dell XPS 15
Firmware update from 01.00.07 to 1.2.0 is not permitted. The system is configured to block firmware updates to previous revisions
Sound familiar? I couldn’t install any Dell firmware updates for my XPS 15 due to a rogue prefix ‘0’ in the default factory firmware version ‘01.00.07’ causing the Dell BIOS update tool to think it’s downgrading itself. 😐
Here’s how to fix it.
- Restart your computer
- From the DELL logo press the ESC key until the BIOS Settings prompt shows
- Open the Maintenance > Firmware Downgrade tab
- Remove the check on Do not allow firmware downgrade
- Click Apply and then exit BIOS
- Run the firmware upgrade
That’s it!