

Following on from Fixing Installation Failed message on Bitnami WordPress and Google Cloud Compute Engine I recently tried installing WordPress within Google Cloud Platform using Google Click to Deploy.
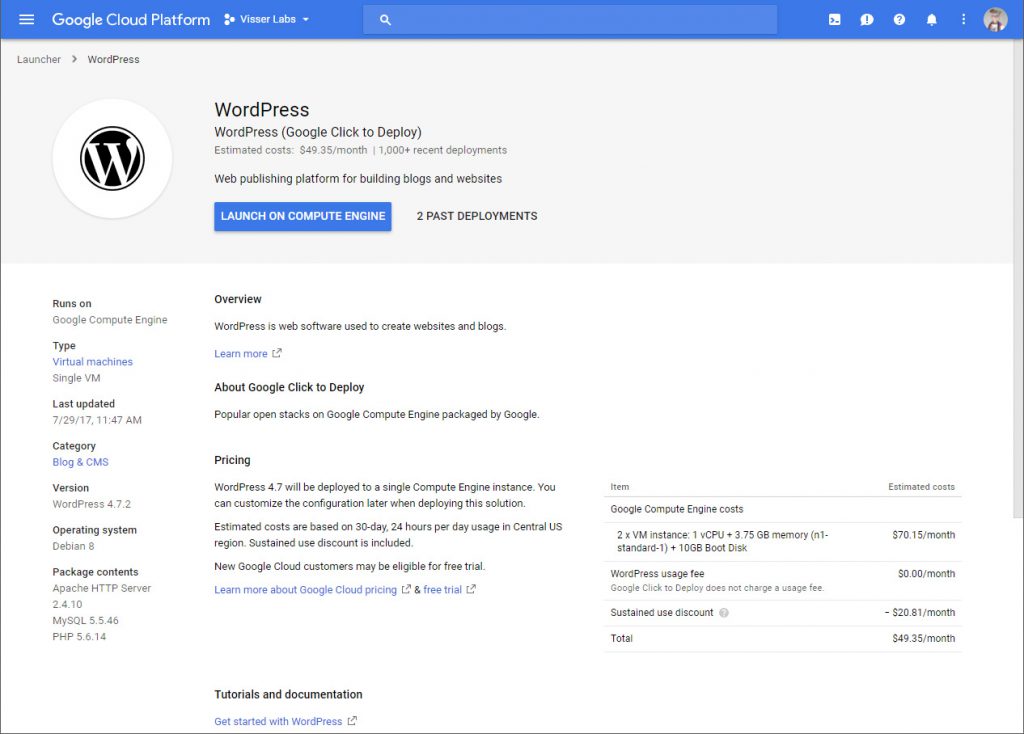
As always the installation and initial setup is a breeze, open up Google Cloud Platform and within the search bar type in “WordPress”, one of the available options is called “WordPress – Click to Deploy”, select that then enter the following details:
- Deployment name (this cannot be changed so think about it…)
- Zone (where you want your instance to exist; us-west1-b is my favourite)
- Machine Type (small 1 shared vCPU is plenty to start with and can be changed at any time without affecting site downtime)
- Administrator E-mail (your e-mail address)
- whether you want phpMyAdmin installed (if you’re using WordPress then this is very handy to have access to)
- Disk type and size (Standard Persistent Disk and 10 GB is plenty to start with)
- Automatic firewall rules for HTTP/HTTPS traffic (turn this on or you’ll need to do it later)
Then hit Click Deploy and away it goes, a minute or so later a set of logins are provided including a default admin WordPress User and login details, if phpMyAdmin was selected a default root User login is provided.
By default a dynamic IP is allocated to your WordPress instance so you’ll need to open Menu > Networking > External IP address and change the type to Static for persistent WordPress sites.
If you intend to manage your WordPress site via SFTP (FTP over SSH) then you’ll need to adjust your SSH user so that it can create and edit files within the base WordPress directory, to do this open the Google Cloud Shell within your WordPress instance by opening Menu > Compute Engine > VM Instances > under the Connect column beside your WordPress instance click SSH.
id
sudo useradd -G visser www-data
(replace visser with your SSH user name displayed when you enter id)
If the visser user already exists then you will need to do the following command instead:
id
sudo usermod -a -G www-data visser
Adjust the file permissions and ownership of wp-config.php within your base WordPress directory then create a new .htaccess file.
cd /opt/bitnami/apps/wordpress/htdocs/
sudo chown www-data wp-config.php
sudo chgrp www-data wp-config.php
sudo chmod 664 wp-config.php
sudo touch .htaccess
sudo chmod 664 .htaccess
sudo chown www-data .htaccess
sudo chgrp www-data .htaccess
Lastly let’s change the WordPress URL from the IP address allocated (e.g. http://35.197.92.168 to http://visser.io) and turn on Permalinks.
To change your WordPress URL open the WordPress Administration using the logins provided when your WordPress instance was created then open the Settings > General screen. Change only the WordPress Address (URL) field to your preferred URL – do not change the Site Address (URL) field – then hit Save Changes.
To enable Permalinks open up the General > Permalinks screen, within the Common Settings section change the radio button selector to Custom Structure and within the text input field paste the following (or your preferred Permalink structure):
/%year%/%monthnum%/%day%/%postname%/
Hit Save Changes to apply changes.
That’s it 🙂