Fix for poor A2DP quality for Bluetooth headphones under Windows 8, 8.1 and 10!

I’ve been happily using my Bluebuds X Bluetooth Headphones for the past 6 months without problem between my Windows 7 laptop and Sony Xperia Sola but after updating to Windows 8 this peace has ended in cracking and hissing reminiscent of low quality internet radio.

To resolve this and bring back full A2DP high quality Bluetooth streaming try the following:

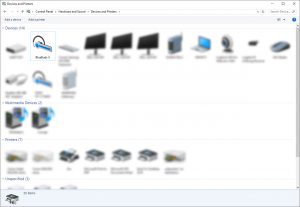
  1. Open Devices and Printers from Hardware and Sound within the Control Panel
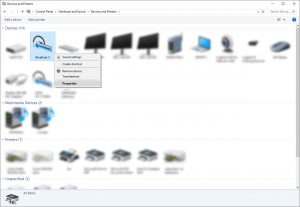
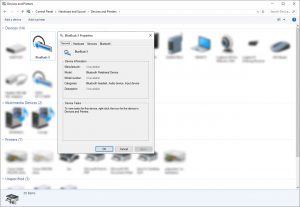
  2. Expand the Bluetooth headphone listed under Devices by double clicking it
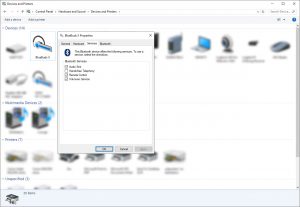
  3. Switch to the Services tab within the Properties dialog
  4. Turn off Hands-free Telephony and click OK

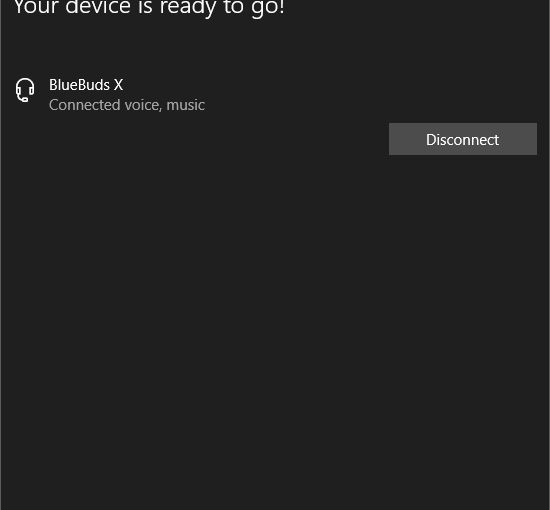
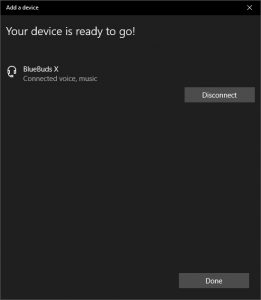
Screenshots

Re-connect to your Bluetooth headphones and play a song from your Windows 8 machine, fingers crossed the hissing is gone! I’ll be updating to APT-X shortly which will do away with reliance on Bluetooth for audio but Bluetooth will still be required for track changes, etc. Hope this helps!

Update: This same fix works for Windows 8.1 and now Windows 10 😀

Turn on Link Target support for Custom WordPress Menu Items

Hidden away in the Screen Options dropdown of the Edit Menus screen of the WordPress Administration are a set of advanced menu properties that can be toggled to extend WordPress menu items even further.

  • Display list of Custom Post Type items under Pages list
  • Open link in a new window/tab
  • Optional CSS classes
  • Link Relationship (XFN)
  • Link Description

Pretty sneaky WordPress!

Reference: Add ‘target’ element to Menu Editor

Change Default E-mail “Open With” behavior in Windows 8

In Windows 8, it’s by default set to use the native Mail Windows 8 app but here is how you can change it.

  1. Open Control Panel. You can do so easily press Win+X, and select Control Panel from power user menu that pops up.
  2. Click Programs, and choose “Make a file type always open in a specific program”
  3. In the next Window, find and highlight MailTo item from the long list of extensions. You should be able to locate it at near the bottom of the list.
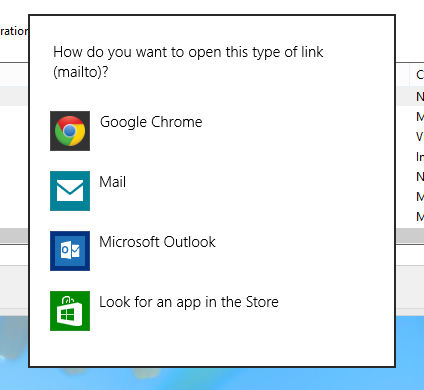
  4. Double click and pick one from the “metro style” popup.
  5. Pick one from the list and Close. You are all set.

Reference: http://www.nextofwindows.com/how-to-change-default-mailto-behavior-in-windows-8/

Adding Multimedia Keyboard support to the ASUS Zenbook UX32VD

For reasons unknown ASUS decided to leave out multimedia keyboard mapping on its UX32VD model which doesn’t side well with Windows 7/8 users. This tutorial adds basic multimedia keyboard key mapping support – Play/Pause Track, Previous Track, Next Track – to Windows 8 and is not limited to just the above UX32VD model.

  1. Install AutoHotKey
  2. Add the following lines to your AutoHotKey.ahk script
    #F10::Media_Play_Pause
    #F11::Media_Prev
    #F12::Media_Next
  3. Reload the hotkey script by right-clicking the AutoHotKey tray icon and selected Reload This Script
  4. Open Windows Music or Zune and play an album
  5. Hold down the Windows key and press F10 to pause the track, F11 to play the previous track and F12 to play the next track

Hey presto! Enjoy your new multimedia keyboard support.

Update: I tried remapping CTRL+Right Arrow without success, I suspect this is due to it already being mapped by Windows to ‘skip to next word in sentence’. Windows+% is good enough for me!

X525 Quadcopter equipment list

Here’s my shopping list from HobbyKing, eBay sellers/other RC suppliers for my new X525 build.

Frame

Control Board

Motors

  • […]

Speed Controllers

  • […]

Propellers

Battery

Radio

Miscellaneous

Same site, minus the professionalism

Hi there, I’m setting up my new personal site to showcase my hobbies, interests and aspects of personal life that weren’t suitable on visser.com.au; now a dedicated storefront for Visser Labs and our free/Premium Plugins for WordPress.

I’ll be focusing on the following topics:

  • Random projects
  • Other random projects
  • Some more random projects

Jump over to the About page for more information or go straight to Tools.

MigRecover Utility for Microsoft’s Windows Easy Transfer

The MigRecover Utility is an extraction tool for Microsoft’s Windows Easy Transfer and is vital in a multi-language environment or where you’re downgrading from a 64 bit Windows edition to 32 bit.

In my own case I only have a 32 bit release of Windows 7 Ultimate RC and had upgraded a workstation from 64 bit Windows Vista so this has been a life saver!

Big credits go out to the original developer of this fine extraction tool and to show my support I’m hosting this file as torrent’s vanish and temp. download links regularly break. Please show your support by helping out in the comments where people run into issues, I’ll help where I can but it worked a treat in recovering a 22GB SaveData.mig containing photos and documents from the last decade on my machine.

Download MigRecover Tool (USMT4)

Update: GUNHED provided a link in the comments to the latest version, kudos!

Archives

MigRecover Tool (USMT3)

Instructions

Update: I’ve hacked together the following steps from the MigRecover readme.

  1. Rename your MigRecover archive to SaveData.MIG
  2. Move your SaveData.MIG to C:\
  3. Extract the MigRecover.zip archive to C:\, this will create a folder called C:\MigRecover on your system, and contain the files necessary to run the utility
  4. Click Start, click All Programs, click Accessories, then right click Command Prompt, and select Run as administrator
  5. Type the bolded text, and press <Enter> MD C:\MIGRECOVER\RECOVER
  6. Type the bolded text, and press <Enter> CD C:\MIGRECOVER
  7. Type the bolded text, and press <Enter> MIGRECOVER.EXE C:\SaveData.MIG C:\MIGRECOVER\RECOVER
  8. The data will be extracted, if successful, to C:\MigRecover\Recover folder

Update: If the above instructions have not worked or you are receiving corrupt file errors I recommend you contact Microsoft Support. Please note, you will very likely will be charged a fee for this service by Microsoft Support.